Dye Addendum
I wanted to add a short little update to my last blog post where I had a little tutorial for dyeing in stages. This method gives you full control over your dyeing, even within the same contain. If you want to explore more with your dyes, you also need to understand that dye fixes to wool in ways that are predictable and also chaotic. What do I mean by this?
First, if you add your dye fixative at the start of the dyeing process, the dye will fix fairly soon after you add the dye. This gives you anywhere between mere seconds to a couple of minutes to shift the dye around in the dyebath. This also sometimes referred to as ‘hot pour method.’
If you add your dye fixative after you add the dye, the dye has a chance to fully mingle with the wool/silk and will help you produce a fairly consistent color (think ‘semi solids’). This method gives you a predictable outcome. If you need to work with more time, this method will be key for you to use.
Second, the temperature at which you pour your dye matters when your dye fixative is already in the wool/silk. Heat is required to fully fix the dye to the material, so if you pour directly onto the wool/silk, the dye will start to fix immediately on contact. This is how you can achieve a very saturated color in one spot. This is also where the chaos begins to enter into the dyeing process. Once the dye hits the hot wool/silk, there’s little you can do to shift the color into the neighboring wool to produce a less saturated effect. This can be highly desirable, especially if you want a speckled effect, or to keep certain accent colors in just a few places.
Last, the amount of water you have in the dyepot when you begin the dyeing process can control the chaos/predictability. This is called ‘low-immersion’ dyeing, where there is just enough water to keep your materials fully wet, but without much chance for the materials to float. This lack of water helps you control how far your dye can travel. If you put in the dye and let it sit, there isn’t enough water to carry the dye to other parts of your wool/silk. If there’s a lot of water, also called ‘vat dyeing’, there is more water and the dye can move more freely.
You can combine these different dyeing methods together. You may start off with low-immersion without heat, add your fixative and dye in a few key places, then turn on the heat source. After it sets, you might use the hot pour method to create concentrations of color. In another example, you may start off with a vat dye, add your base color, add the fixative after the wool/silk has come up to temperature, then hot pour in other colors. You can also change your mind after you’ve finished dyeing. Re-wet your dyed wool/yarn, add the fixative, then put some dye in a few key places. This is called ‘overdyeing’, mainly because you’re dyeing over a previous dye.
Dyeing is an expansive subject and these are meant to be helpful tips. One goal for 2022 is to record me doing the dyeing in beginner tutorials and posting them on YouTube/Patreon. I haven’t decided all the details just yet!
In the follow photos, I wanted to show you how you could mix and match methods within the same dyeing container. I used all the same colors and started with the fixative (citric acid) in the dye pot. I added my yarns the way I wanted them. While the yarn was still room temp (about 70F), I sprinkled in some black dye. On all the skeins, except one, I left the black where I dribbled it. For my exception skein, I used my tongs to push the yarn and dye around. After the black set, I moved the yarns around again, then started adding my blues and greens. For most of the yarns, I let the dye sit where I poured it. For my exception skein, I pushed the dye/yarn around. The result were 3 identical skeins and 1 outlier skein. They all looked very similar in hue and saturation, though the exception/outlier skein was more muted. This is a great trick if you are working on a project that would look nice with different dye effects—of course, weaving comes to mind.
The twisted skein on the left and the two skeins left open are the three skeins described as above. The twisted skein on the right is the outlier. You can tell how muted the colors became when I shifted the dye with the tongs during the dyeing process.

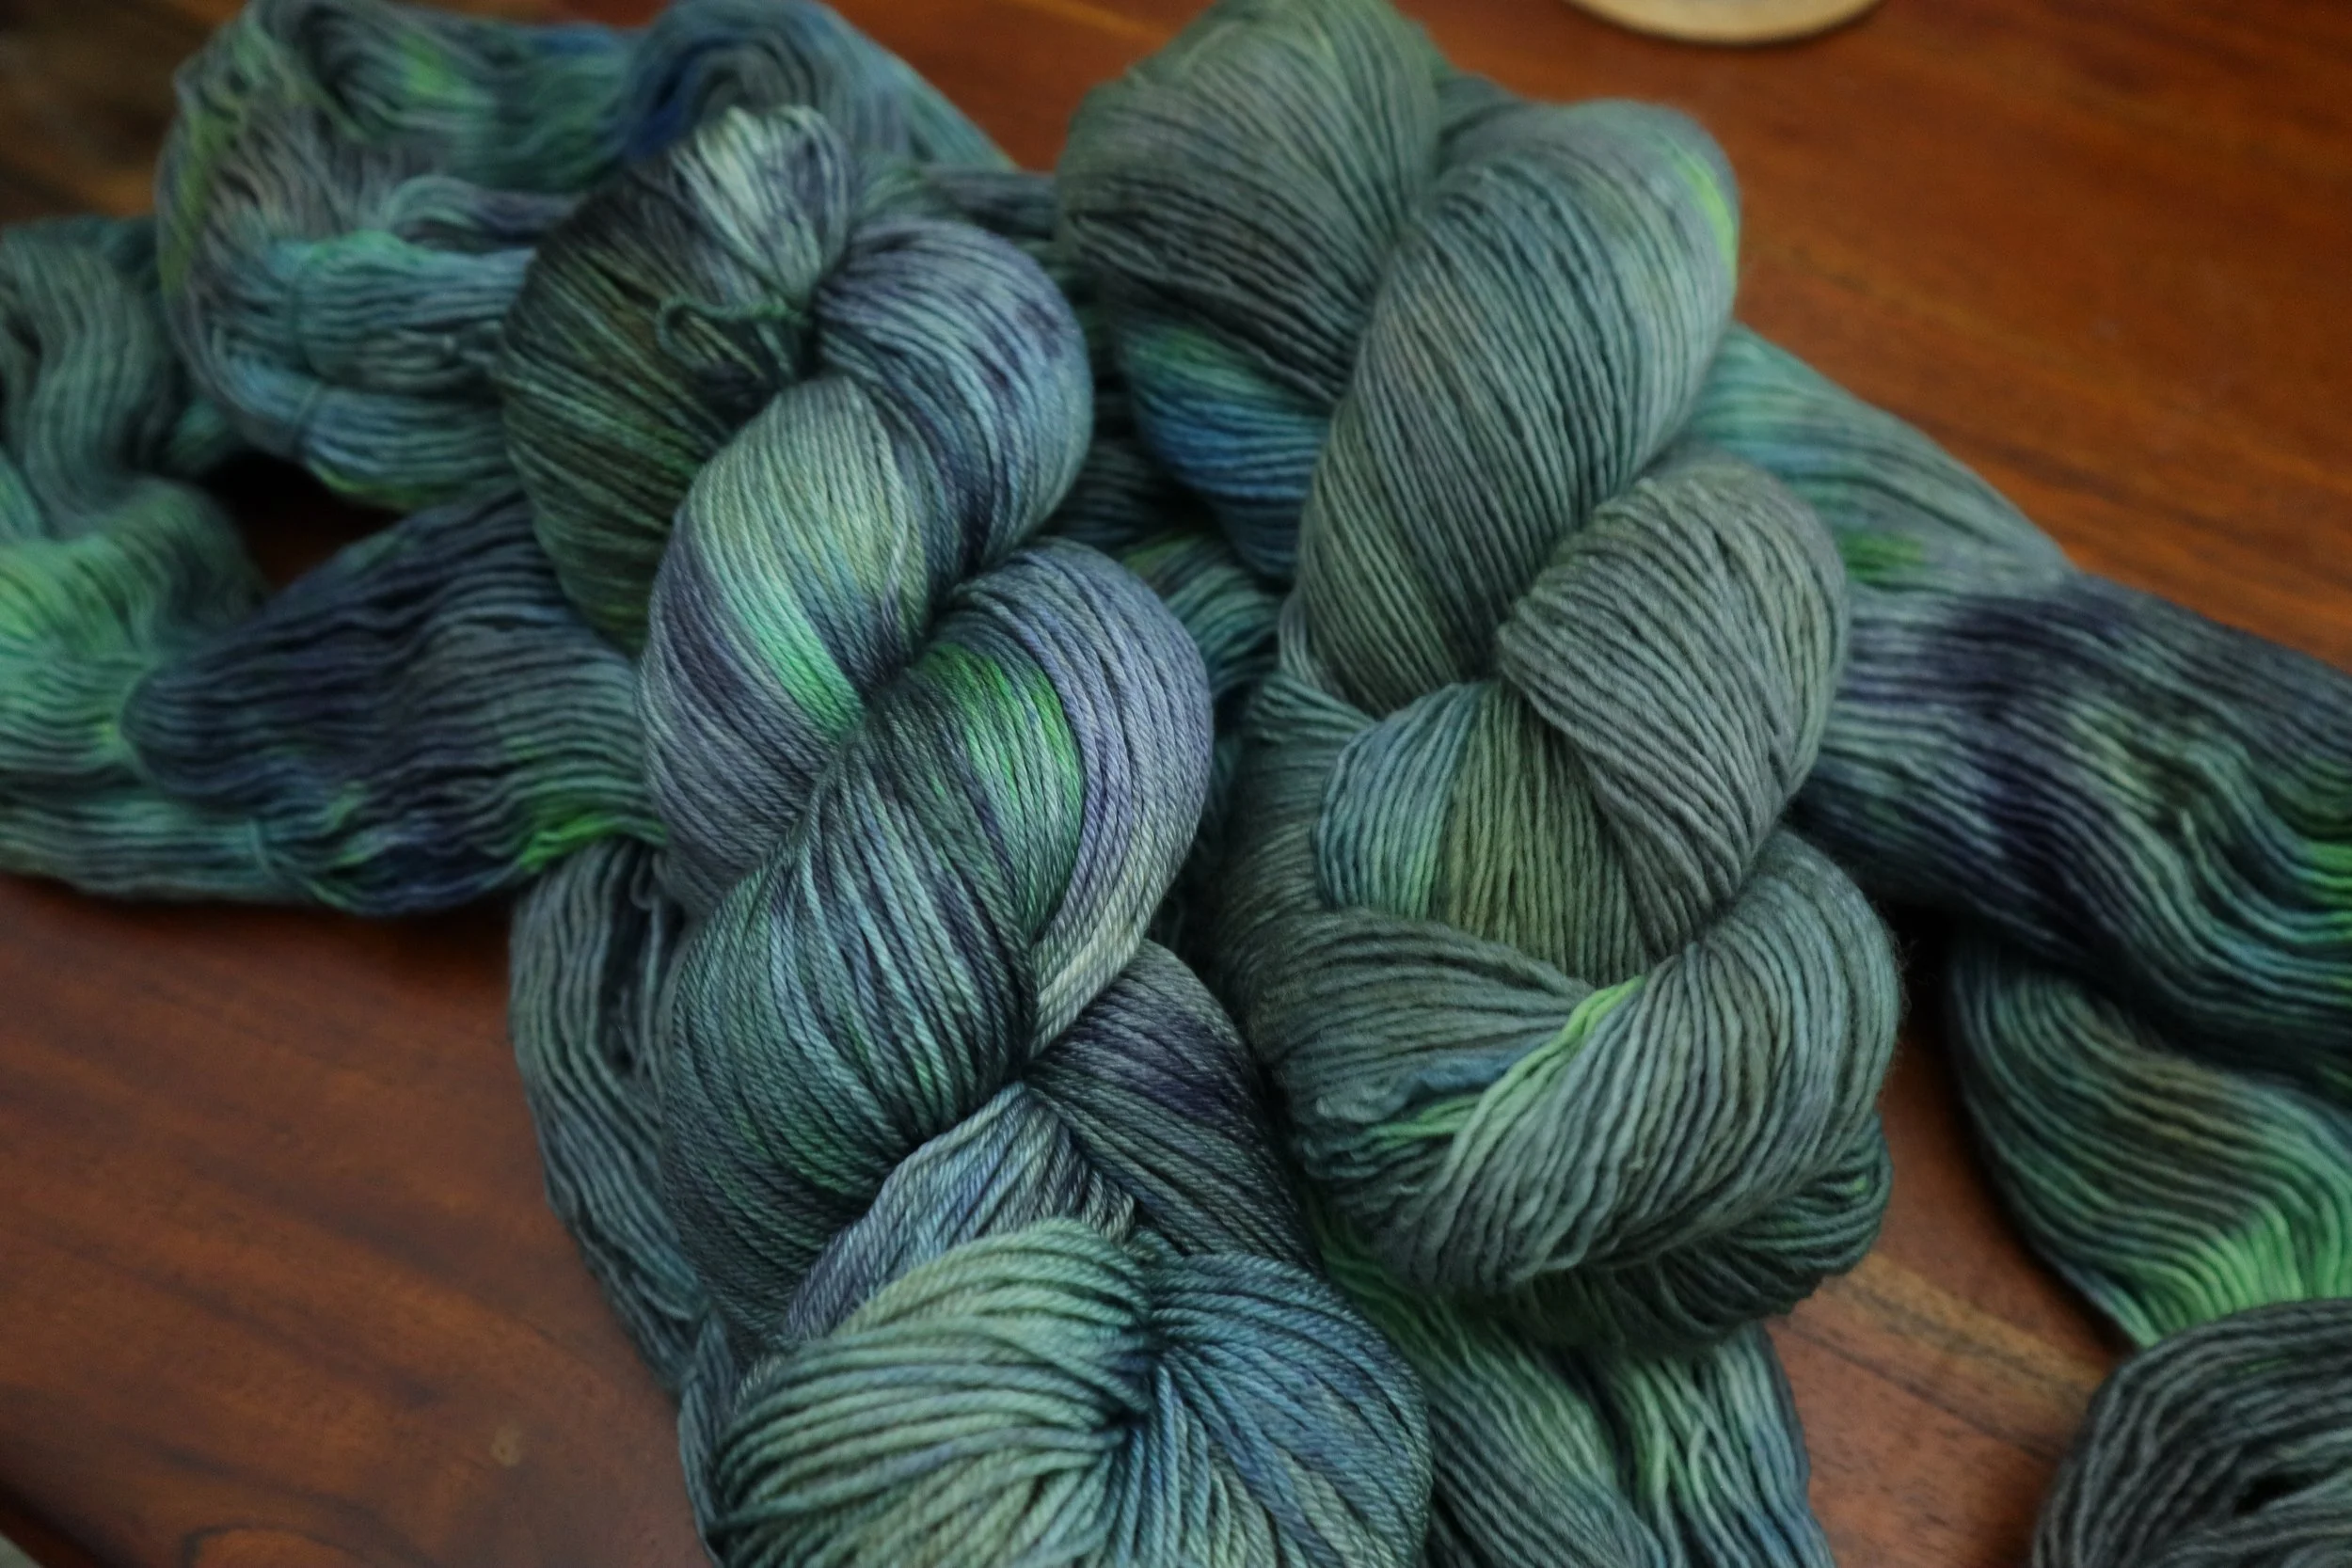
This closeup of the twisted skein shows off how the colors can stay individuated with the hot pour method.

Here’s a closeup of the outlier yarn (twisted skein, right).